Battle of Bramham Moor
Battle of Bramham Moor
19th February 1408
Name: Battle of Bramham Moor
Date: 19 February 1408
Start time and duration: Afternoon and described as being 'short'
Outcome: Royalist victory
Armies and losses: Royal forces under Sir Thomas Rokeby consisting of noble retinues and local levies; Rebels under Henry Percy, Earl of Northumberland, and Thomas Lord Bardolph with a mixture of Scottish knights, Northumbrians and some ecclesiastics, with townsfolk and peasants from Yorkshire. Losses: Unknown.
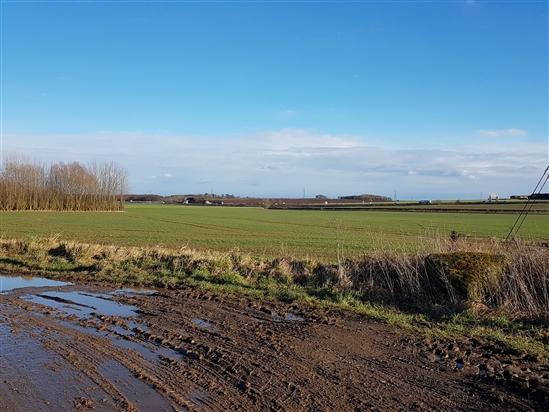
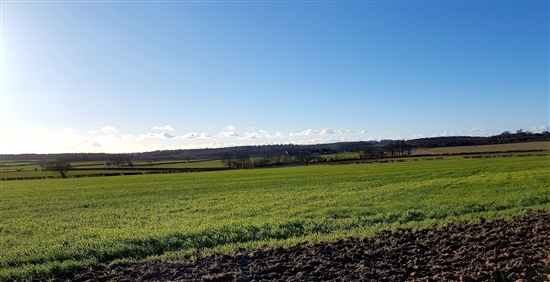
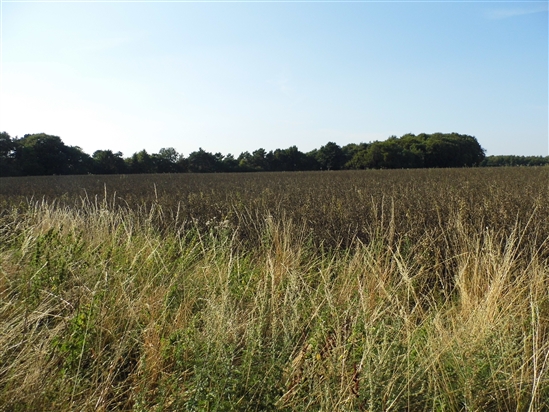
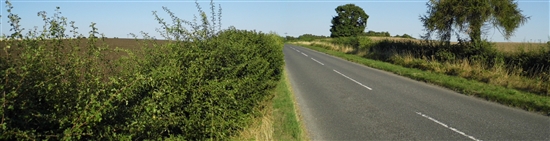
Location: Approximately located to the east of the village of Bramham in North Yorkshire across ground that would have been open moorland at the time of the battle.
Map details: Grid Ref: SE 43874196, (443871,441966); OS Explorer Map: 289; OS Landranger Map: 105.
Royalists led by the Sheriff of Yorkshire defeated a rebel army under the first Earl of Northumberland, and the Lancastrian dynasty was secured on the throne.
Bramham Moor was the final battle of the Percy family's rebellion against King Henry IV. Originally instrumental in helping the then Henry Bolingbroke to the English throne in 1399, the Percies relationship with the new king had soured in the light of what they perceived as Henry's ingratitude for their support and assistance, and their own ambition. The precise location of the battle and alignment of the opposing forces is unknown, though both armies must have adopted a roughly north-south deployment with the rebels facing east and the royal army facing west as the rebels had retreated from Tadcaster pursued by the royalists. The Ordnance Survey map under ‘file downloads’ on the left of this page shows two conjectured deployments.
Actual numbers for both armies are also unknown. Rokeby unveiled a banner of St George and both he and Northumberland unveiled pennons of their arms. The ensuing battle, which commenced “between one and two o’ clock” in the afternoon, ranged over uncultivated moorland south or east of Bramham village, in an area bounded by Camp Hill (which has been levelled by centuries of farming but is judged to have been a hill fort), Headley Hall and the Oglethorpe Hills.
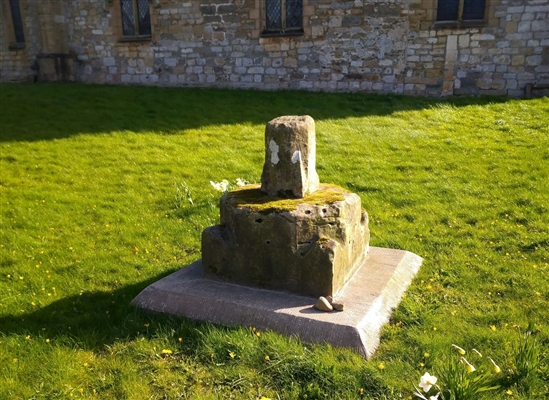
In what is described as a relatively short but “furious and bloody” encounter, the discipline and cohesion of the royal army won the day. Bardolph was mortally wounded early in the action and Northumberland himself was said to have been killed in the thick of the fighting. A small stone cross that used to stand in a field near Oglethorpe Whin Covert, just north of Toulston Lane, was believed to mark the spot where the earl died. His head was subsequently set on a spike and displayed on London Bridge. The Abbot of Hailes, taken wearing full battle armour, was amongst those executed, though the Bishop of Bangor, still wearing his clerical robes, was spared.
Total battle casualties are unknown; some of the dead from the battlefield are said to lie in two communal graves at the east end of the churchyard of All Saints’ Bramham, and what remains of the ‘Percy Cross’ may also be seen in here.
With the death of Northumberland his grandson, another Henry Percy, was without title or lands and only regained the earldom in 1416. With the Percy threat finally extinguished Henry IV was able to direct all his forces against the Welsh, with Owen Glyndwr disappearing after the fall of Harlech Castle in 1409.
Arguably, the battle at Bramham Moor effectively secured the Lancastrian monarchy for the next half century until it was overthrown only a few miles south-west of this battlefield, at the battle of Towton.