Attack
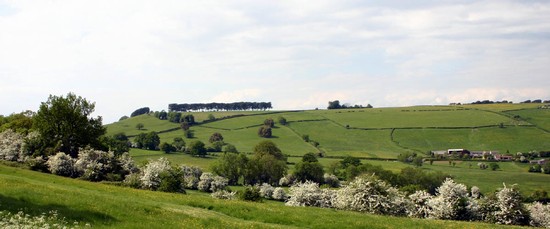
Waller now sent out cavalry to skirmish with detachments of royalist cavalry in the valley below and hills beyond. This forced Hopton, whose army of more than 6000 was over 4 miles away at Marshfield, to march out to counter the parliamentarians in the open fields on the hilltop which stretched from Freezing Hill to Tog Hill and on towards Marshfield.
Skirmishing in the hedged enclosures on either side caused the royalists to retreat once more. Waller saw a half chance for his weaker army to defeat the royalists, for though he had far less infantry he was at least as strong in cavalry as the royalists. So about 3:00 in the afternoon he threw more cavalry and dragoons into the action. Such an attack against the whole royalist army and a mile and a half from his main battle array on Lansdown Hill was a risky move. This was typical of Waller’s approach to battle and at Lansdown he had some success, but at Cropredy in 1644 a similarly daring move would prove his undoing. This phase of the battle must have taken place somewhere on Tog Hill, near to the Bristol to Chippenham road.
At first Waller’s men had some success but, faced by infantry, under artillery fire and countered by royalist cavalry charges, the parliamentarians were forced to retreat. While their cavalry quit the field, being driven at great disadvantage down the narrow lane from Freezing Hill, the musketeers fought a rearguard action through the hedged and in places walled enclosures which lay on the slopes and valley between the open fields of Freezing Hill and Waller’s main position on Lansdown Hill.
This had been no mere skirmish. It was a major phase of the action, lasting some two hours and spreading across a mile or more of the hilltop and slopes of Tog Hill and Freezing Hill.